
Want to learn how to create a kick-ass portfolio website with Elementor? You have landed on the right page! In this tutorial, we will see how you can create a portfolio using Elementor and on top of that, we will also see how to add a filterable gallery in your portfolio.
So, without any further ado, let’s dive in!
Essentials for Building a Portfolio with Elementor
Now since we are making a website portfolio on Elementor you will require a WordPress website up and running. Also, you will require Elementor(Duh!) and for creating a filterable gallery, you will require the Gallery widget of PowerPack add-on for Elementor. So, you will require:
Once you have these two installed and activated, we can begin!
Creating Elementor Portfolio Section (step by step tutorial)
Add a new page for Elementor portfolio. remove the header, and enable the canvas template. The canvas template gives you a completely blank page.
Step 1: The Hero Section
When it comes to the hero section, you need to keep it simple and mellow. Since this is a personal portfolio hero section, we have added a background image and added two headings in the front. Simple as that.
So, firstly, open the page and add two columns inner section by simple drag and drop. For the background, right click on the section and click on Edit Section. Now go to the style tab and click on the image icon for the background image and choose one from the media gallery.
Now, drag and drop the Heading widget on the section and change the text accordingly. You can also change the typography, text color, size, etc. from the style tab if required. Add another heading under the previous heading and give it a smaller size and same typography. This is what your hero section should look like.

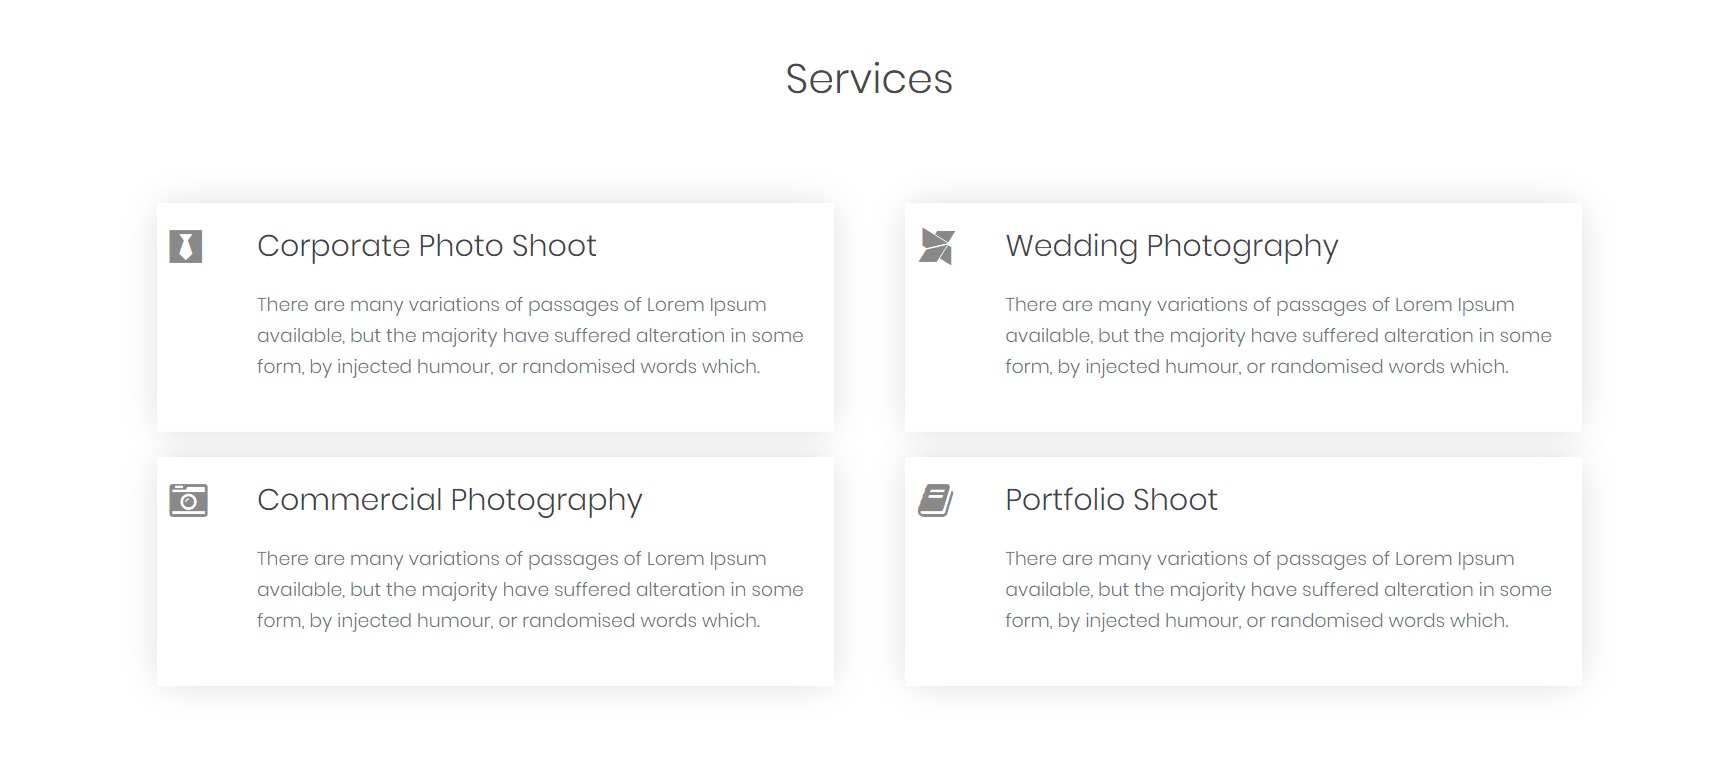
Step 2: Services Section
Now we will make the services section also known as the features section. Since this section is pretty standard, you can even use a predesigned block from Elementor. This can save you some time and efforts. Or else, you can follow these instructions on how to create a services section.
First, we need a heading at the top, for this drag and drop the Heading widget and change its text, styling, typography, etc. Now add an Inner section under the “services” heading.
We will now add the Info Box widget in the columns. Drag and Drop the InfoBox to the first column and change the title and the text. You can customize the padding, styling, typography, icons, spacing, color scheme, shadow, etc. from the settings. When you are done, go ahead and duplicate the Info Box widget. and drag and drop it on the second column. Repeat until you have your desired number of Info Boxes.
Once you do that, you can go ahead and change the text for the respective Info Boxes. This is what the services section would look like:
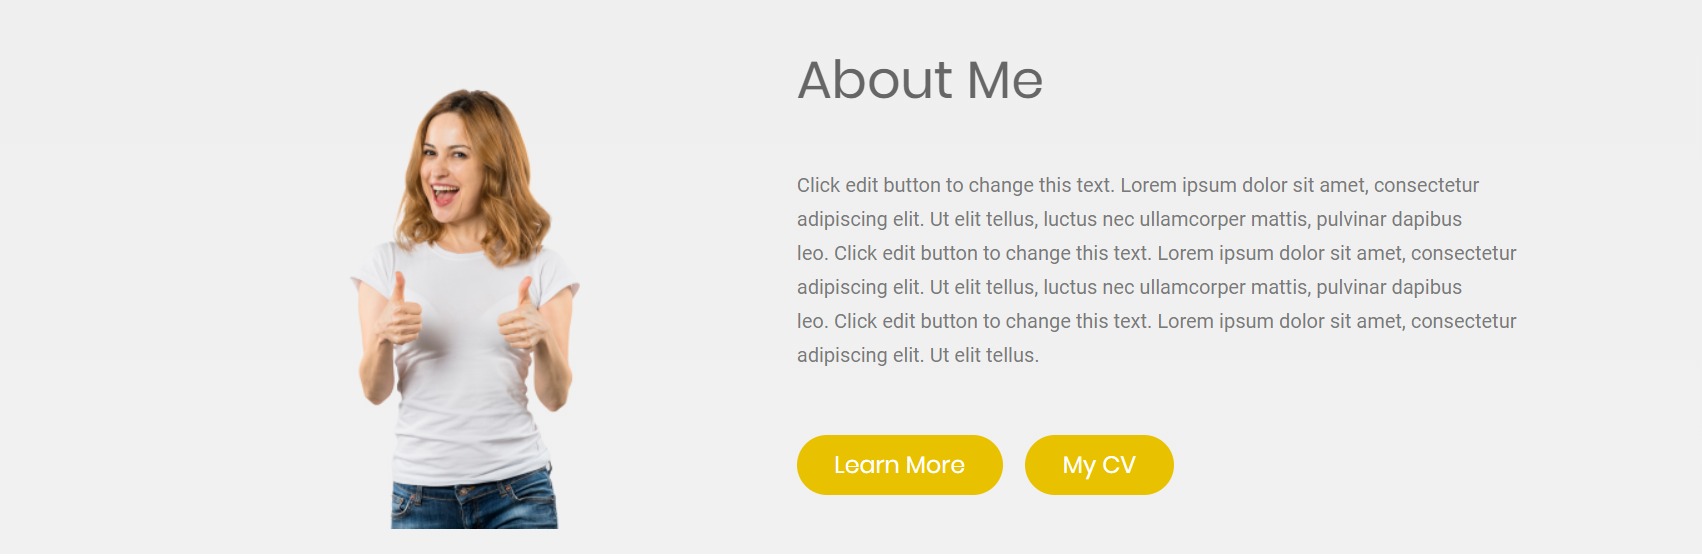
Step 3: About Me Section
Now comes the section where you will introduce yourself. A simple section with an image on the left and details about you on the right with a button or two.
Insert two-column section and add the image widget on the left column. Select the image you want to display on the about me section and make the changes to padding and spacing of required.
Now on the right column, add a Heading widget and add a text editor widget below that. Change the text for the heading and add a little bit about you in the text editor.
You can add a button which directs the users to your About page and if you wish, you can add a CV button as well. To do this, add the Buttons widget to the page and change the text and styling of the buttons as well. You can make your buttons and other elements the way you want. Here is what our about me section looks like once done:
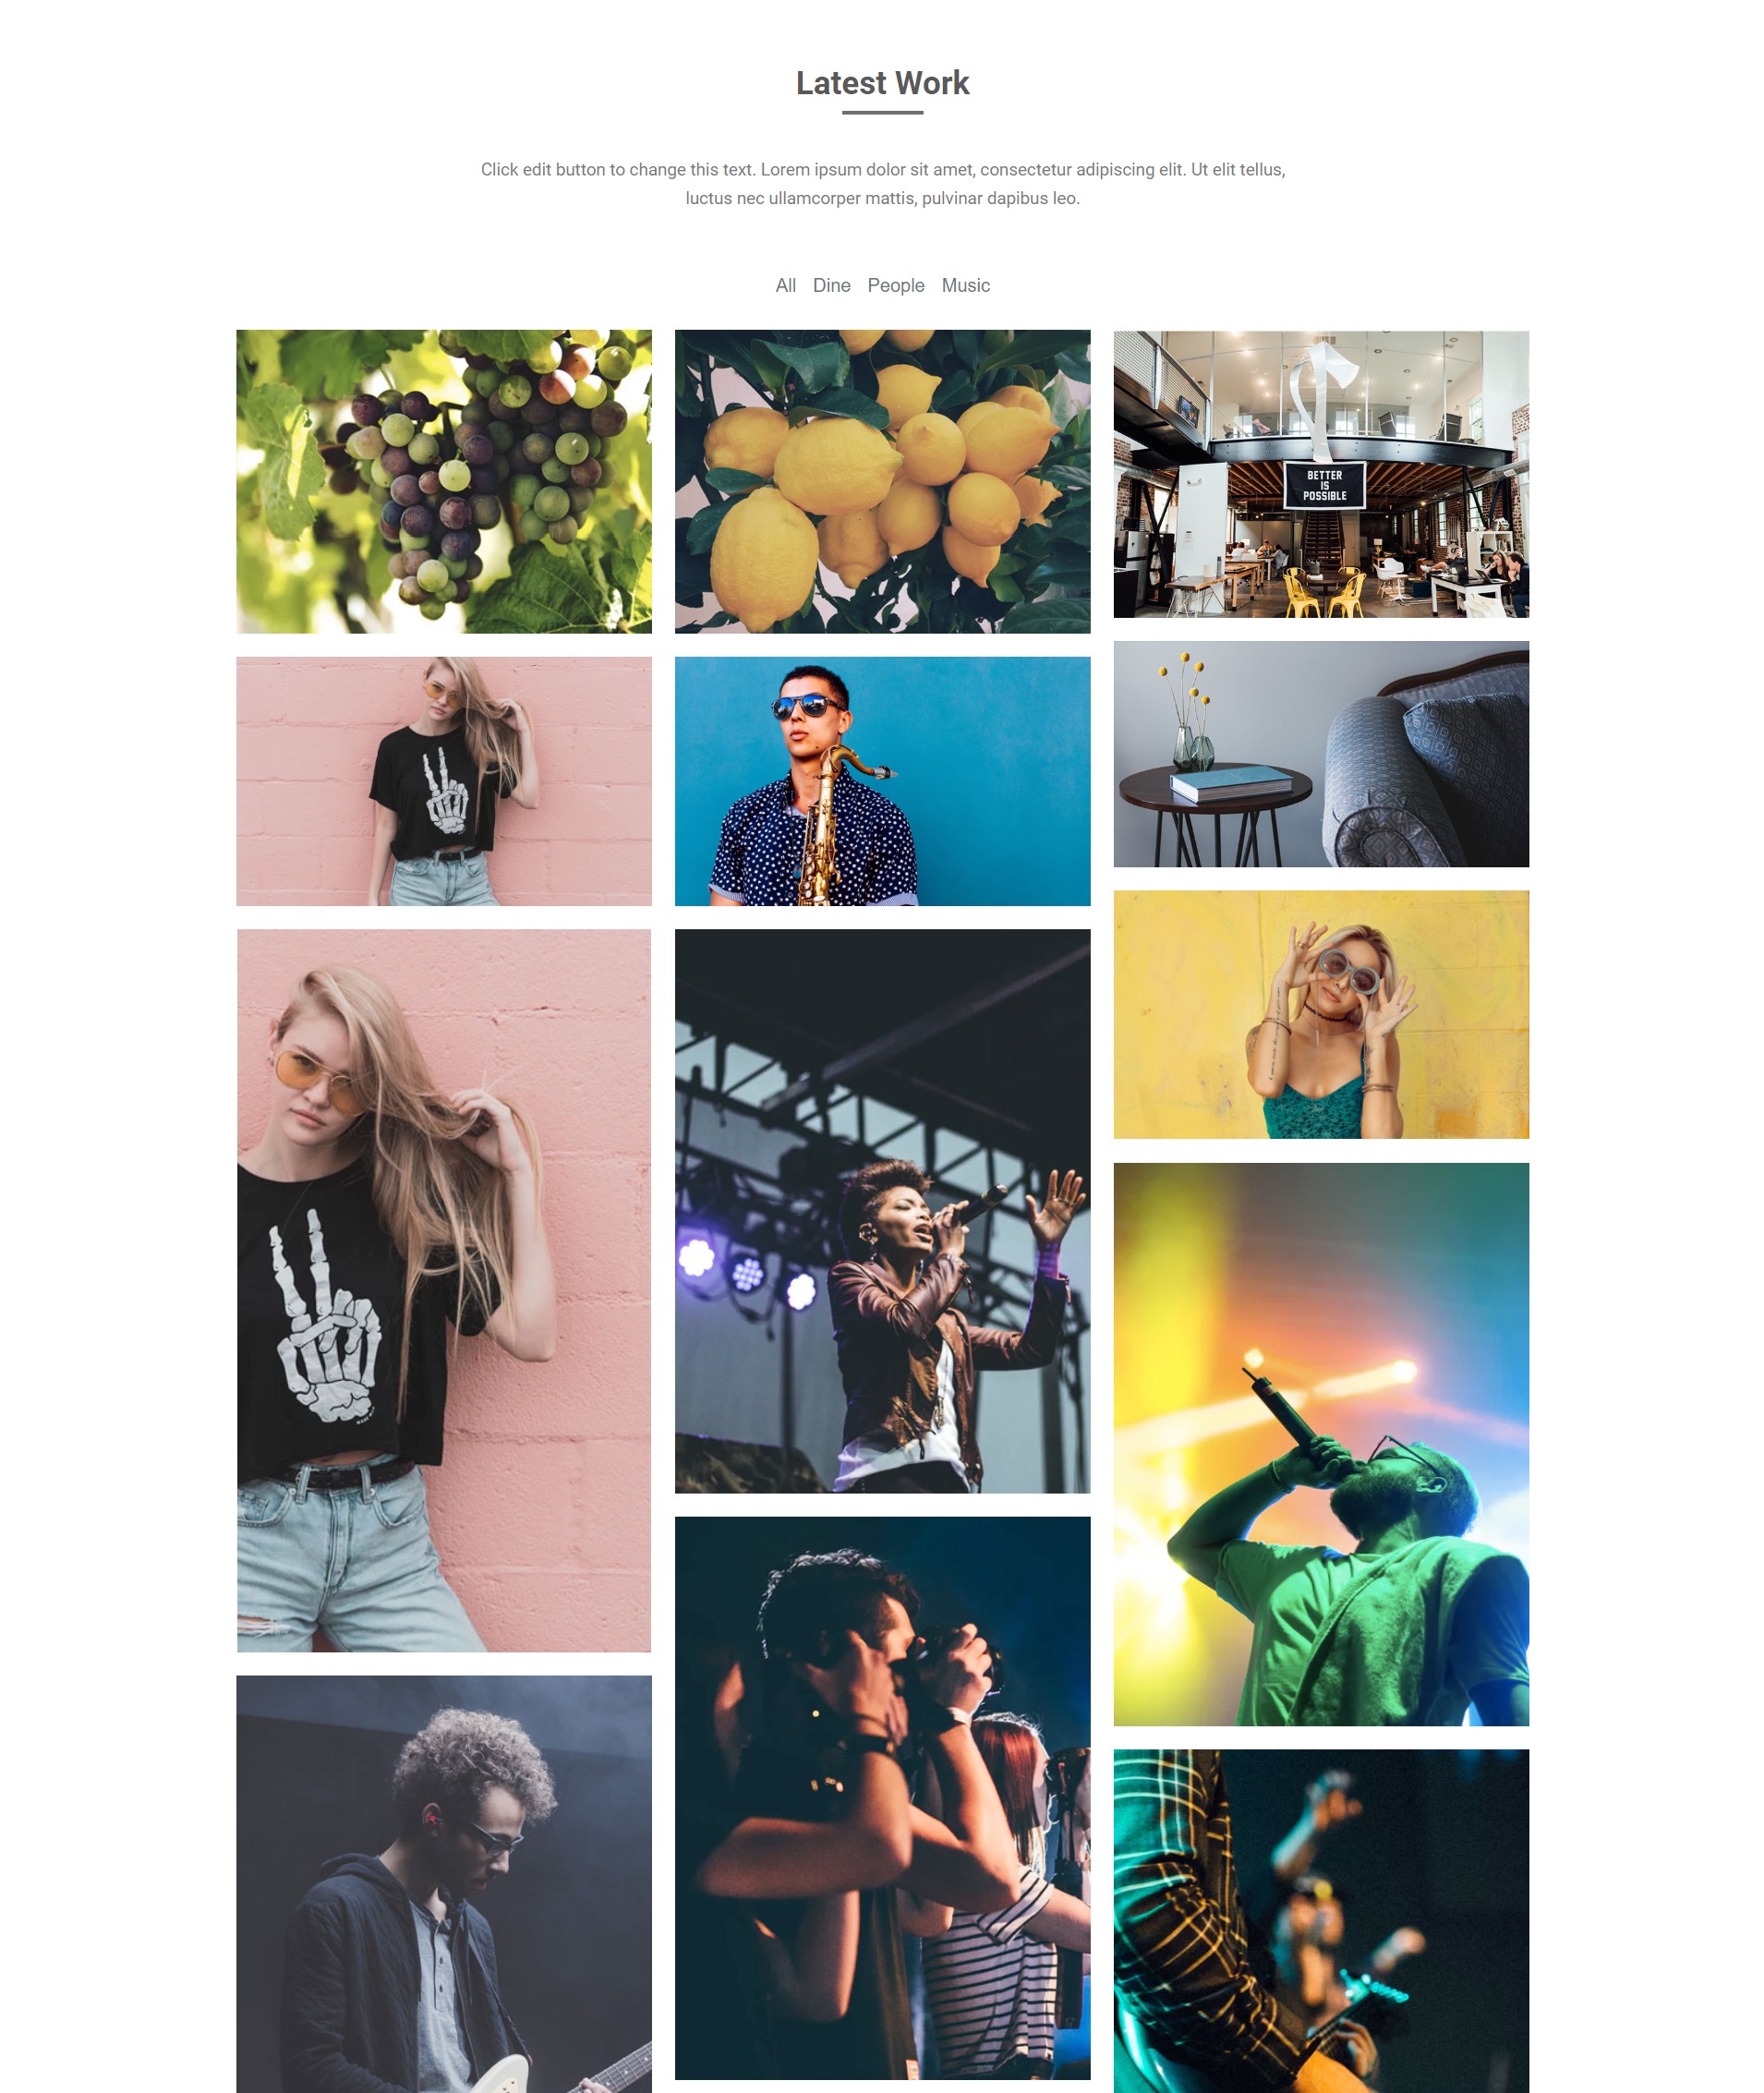
Step 4: Filterable Gallery Section for Elementor Portfolio
Now we will create the section where you will display your work i.e. filterable gallery section.
First of all, add the Heading widget to a new section by a simple drag and drop and change the text, center align it and change the styling accordingly. Add a text editor below the heading and give a one or two-liner regarding your work. Change the font and styling wherever required.
Now, we will be adding the filterable gallery. For this, you need to add the Gallery widget. Go ahead and add it to the gallery section. Now you need to add the images to the gallery. Start creating groups of images that can later be used as the filter for the images. Add the photos of the same category in a single “Item”. For example, you can create groups such as food, travel, lifestyle, etc. and remember to label them accordingly.
You can check out this video to learn more about customizing the Gallery widget.
Now enable the filter from the filter subsection and change the layout if required. You can even choose the number of columns, image resolution, etc. from the same settings.
Further, you can change the column and row gaps for the same and customize how your images and filter tabs look from the style tab.
Step 5: CTA Section
Now the last part of the portfolio landing page is the CTA section. Here we will add a simple section with some text as a hook for the users and a button which will lead them to the contact form.
Add a new two-column section by clicking on the “+” button. Now, add a new heading widget on the left and a button widget on the right.
Customize the heading and change the text there. Accordingly, make changes to the button as well to make the section as appealing as possible. Also, change the background color of the section and this is what the section would look like:

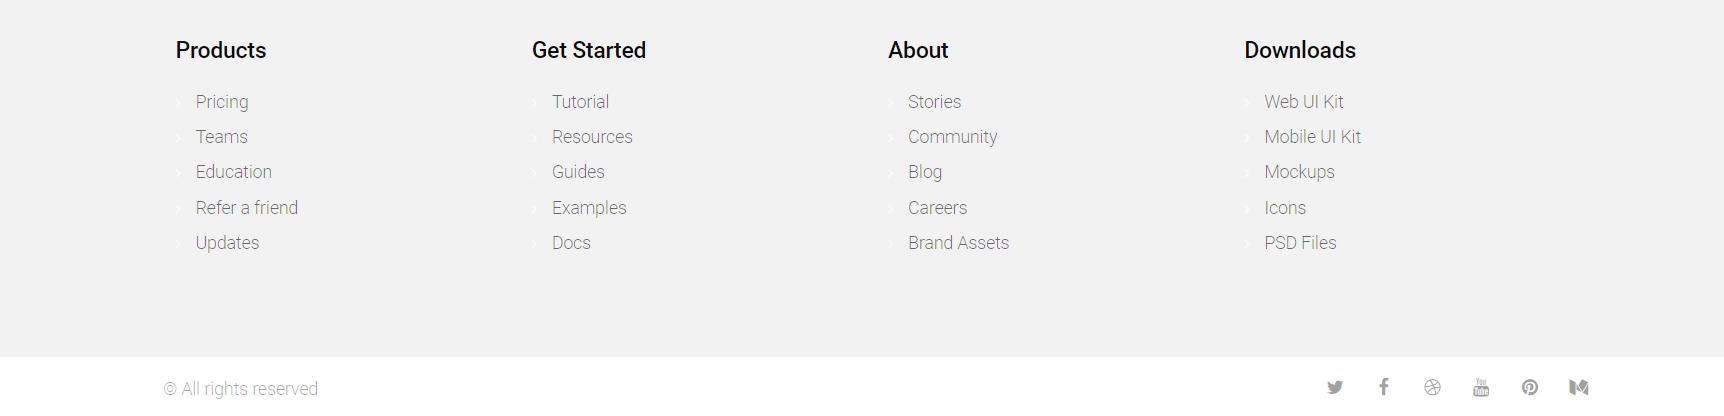
Step 6: Finishing it Up!
Now the only thing you need to complete this page is a footer. I have loaded the default footer for the website by adding it from the templates library. You can design a custom footer as well if you need a new footer for the website. You can change the color scheme, typography, design according to the theme and consistency of the website.
This is what the Footer section of the portfolio looks like:
Bonus: Build One Page Website with Elementor
Now that you have a layout setup for building your portfolio website, there are chances you might like to keep it minimal. So, instead of creating additional pages, you can build a one page website with Elementor using the One Page Navigation Widget.
The Result
After making all the changes and design improvements, this is the result.
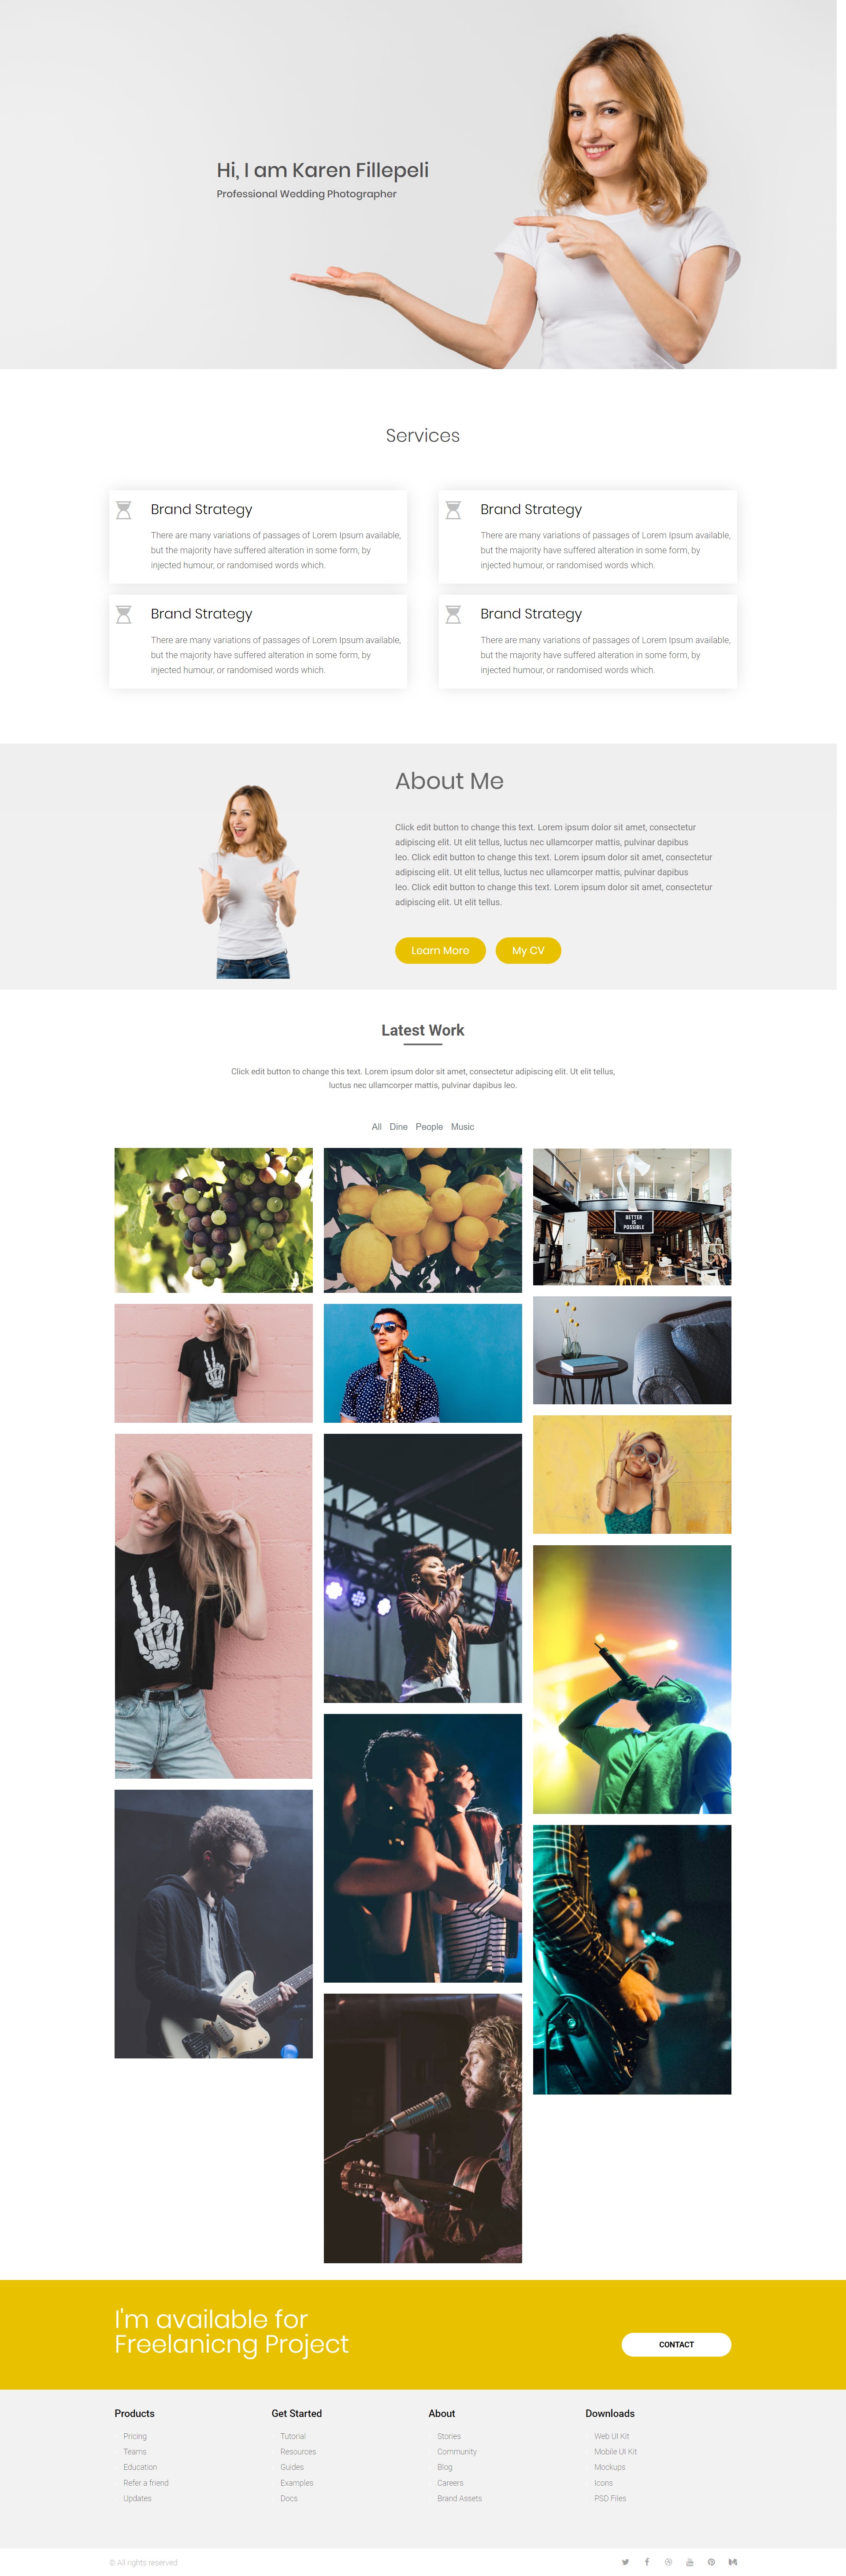
This was just another portfolio design that you can make with the Elementor and PowerPack add-on for Elementor. You can make a whole lot of designs and all this can be done without touching a single line of code! How cool is that?
Do let me know what do you think of this portfolio design? Do you think there were some parts missing or any improvements can be made? Let me know in the comments section below!

2 thoughts on “How to Create a Portfolio in Elementor with Filterable Gallery?”
Thank you, I really like this layout and it easy to implement.
You have spelt ‘freelancing’ wrong. It looks kind of unprofessional when websites don’t perform mandatory spell checks. Just saying 🙂