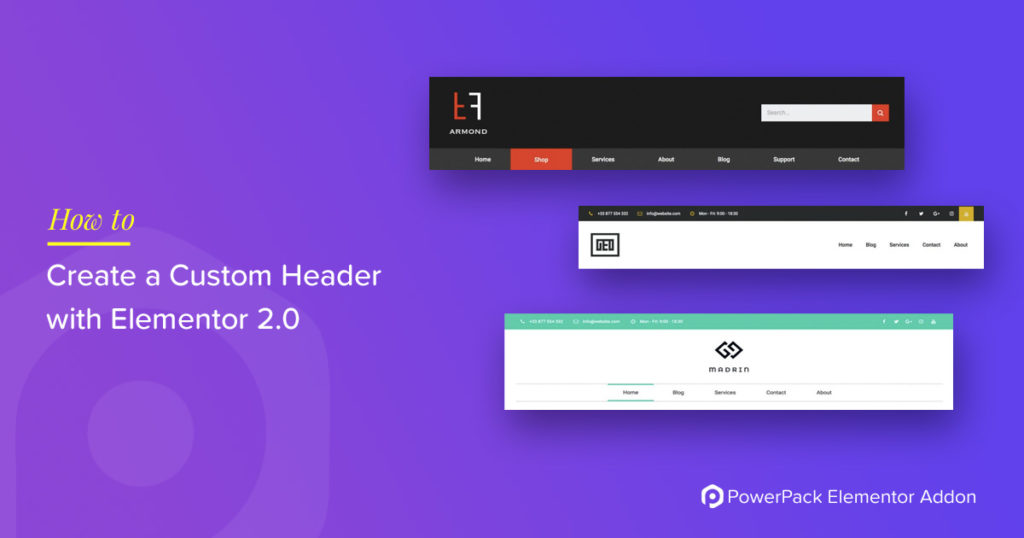
Elementor 2.0 is here and it is better than ever! Now you can take control of your whole website and design it as you want. This update for Elementor Pro allows you to create custom Theme Parts that you can design yourself such as Header, Footer, Archive Pages, Single post layout and a lot more.
Both Elementor Free & Pro are loaded with highly useful features. If you run a WordPress agency and build websites on a regular basis then Elementor Pro will be a great addition to your toolkit, it’s worth the investment. A combination of Elementor and good Page Builder theme will save you hours of time and efforts. It also eliminates the need for writing code for most of the cases. In short, Elementor can help you skyrocket your web design/development business.
Creating a Custom Header with Elementor Pro
Having a good header serves both functionality and design. I say it is integral because it acts as the prime navigation of your website. In this article, we will learn how you can design a custom Headers with the Elementor page builder.
Also Read: Creating a Custom Footer with Elementor Pro.
Step 1: We will start by going to WP Admin > Elementor > My Templates.
Step 2: Now click on the Add New Button at the top. Select the type of template as Header and give your header a proper name.
Step 3: After entering a proper name, click on the Create Template button.
Step 4: Once the page loads, you get to choose from multiple pre-designed layouts. Select the one you want and click on the Insert button.
Step 5: Now you can see that the layout is loaded on the page. We will now begin editing the header but don’t worry; there is nothing new you need to learn here. You can start designing the header the way you want by selecting the widgets.
Step 6: The Header would automatically fetch the dynamic image that is the site logo from the website but if that’s not the case, you can add the site logo by dragging and dropping the site logo module, and it will directly fetch the site logo.
If you are still not able to see the site logo, then go ahead and check with your theme if the image is updated there or not.
Step 7: Change the menu of the website with the one you want there, and you can go ahead and change the way it looks by making changes in the style tab if required.

Step 9: Now you need to set some conditions here. Since I want my header to show up on the Entire Site, I will select the same from the list. This feature lets you assign custom header to different parts of the website according to different needs such as logged in and logged out users, etc.
Step 10: After making all the changes, click on the Publish button. This is the result, a functional and straightforward header-
Over To You!
This was just a simple example of how you can create a Custom Header using Elementor Page Builder. You can try and use other templates as well, or if you want to go for something unique, you can create your design as well by starting from scratch!
If you liked this post, do share it and if you have any queries, do leave a comment down below!


5 thoughts on “How to Create a Custom Header with Elementor?”
Hello,
I’ve installed Element and cannot see the Header Template option. Only Page and Section.
Have I forgot something?
P.S. – Great plugin guys! Amazing work.
Thanks
You’ll need to install Elementor Pro for more options.
Correct me if I am wrong, in order to make Power Pack Elements custom header work, I need to buy Elementor Pro which includes a header option and then buy Power Pack to create a header option.
If so, NOWHERE on your site except in a comment I’ve just read can I see it said Elementor Pro is a requisite.
If so, my excitement fades to disappointment.
Hi Robyn,
Yes, you are correct Custom Header functionality is available in Elementor Pro. I am sorry, this wasn’t clear in the post and it has been updated now.
I would also like to clarify that you don’t need PowerPack Elements to build a Custom Header.
Let me know if you have any other questions.
Thanks!
Would this also be the best way for me to create a vertical navigation menu? I’ve seen some other tutorials that use the theme builder and create a new “page” or “single”
Would it also work if I create a vertical menu and label it as “header”?