
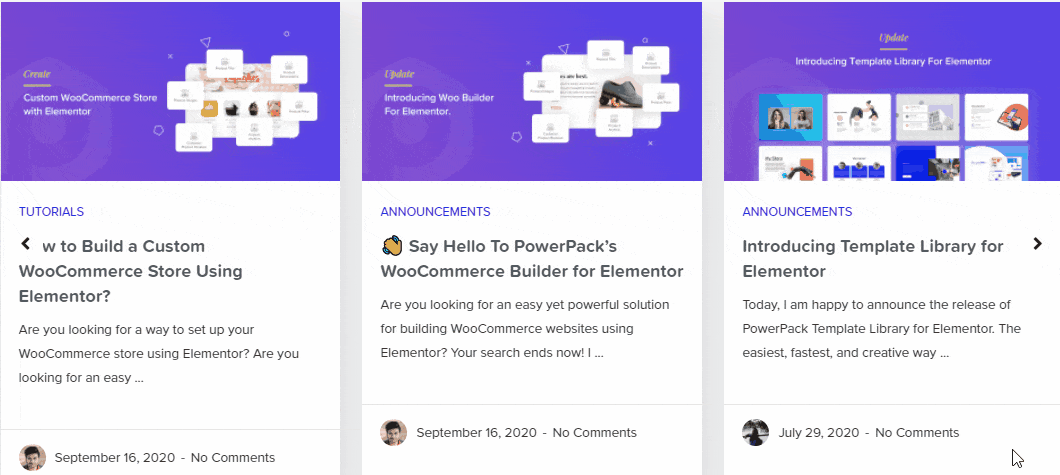
Do you want to create beautiful posts carousels in Elementor? Do you want to display your website blog posts in a stylish slider format? You’ve landed on the right page! In this tutorial, we’ll see how you can create interactive posts carousel on your site with Elementor.
Displaying blog posts in a carousel format is quite challenging and can be more difficult if you do not know how to code. But not anymore! With PowerPack Advanced Posts Widget, you can create an attractive blog post carousel on your Elementor website…without touching a single line of code.
Apart from blog posts, you also get an option to showcase Pages, Templates, Media, etc., in a carousel layout anywhere on your website. One of the frequent issues that occurred while adding a slider or carousel to a website is Page Loading Time. Using PowerPack Posts Widget, you can easily create blog posts slider/ post carousel on your Elementor websites, without affecting page loading speed.
PowerPack Posts Widget for Elementor is loaded with numerous exciting features and styling options; before we proceed to the tutorial part, let’s check out some features of Elementor Posts Widget.
Features of Posts Widget for Elementor
- Pre-Built Skins: Classic, Card, Creative, Event, News, Overlap, and Portfolio.
- Layout Options: Carousel, Grid, and Masonry.
- Power of Custom Query
- Content Display Control
- Filterable Posts
- AJAX Pagination
- Live Search Option
- Extensive Styling Options
Now we’ll see how you can create an Elementor post carousel/slider using PowerPack Advanced Posts Widget.
First, make sure you have Elementor and the PowerPack Elementor Addon installed and activated on your website.
Let’s start!
Creating a Blog Posts Slider/Carousel with Elementor
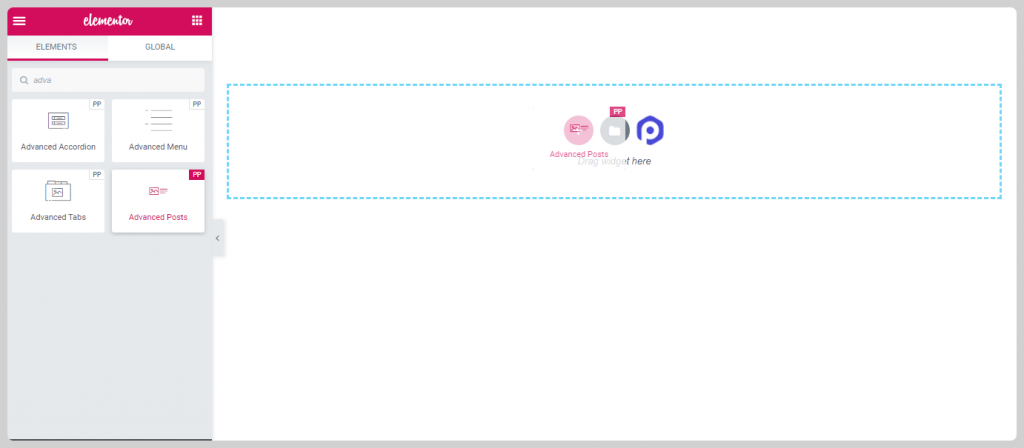
Choose the page where you want to create a blog posts carousel and open it in the Elementor editor; now drag and drop the Advanced Posts Widget on the page.
Make sure to check the PP icon on the upper right corner of the posts widget.
Once you add the posts widget, it automatically fetches your website blog posts and displays them on the page.
Also Check: How to Create a Custom Template for Advanced Posts Widget
Content Tab
Content tab of Posts Widget includes multiple advanced options that help you to set layout and add functionalities to your blog display.
Set Blog Posts Carousel Layout
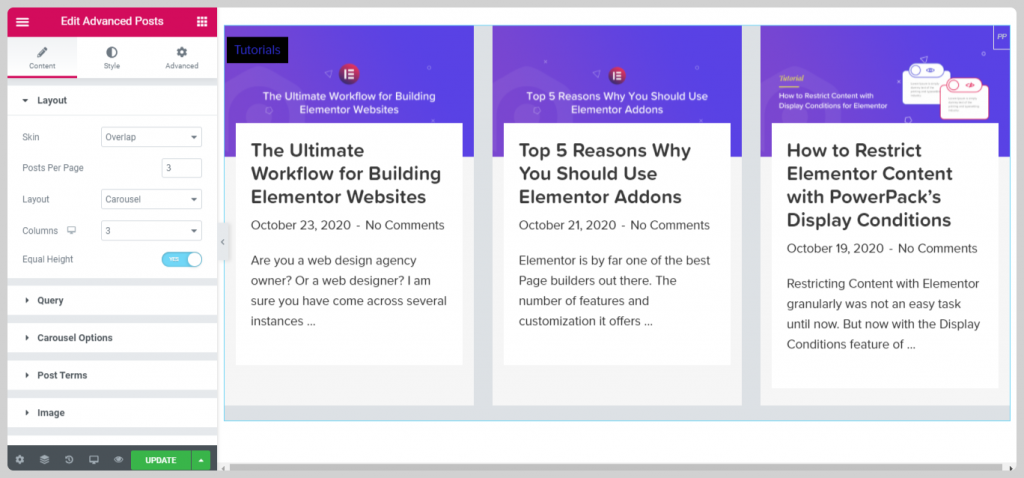
First, you need to choose Skin Type for your blog posts. We have added a number of attractive skin options to create a stunning blog showcase for your website.
Here, I’ll choose the “Overlap Skin” type for my page and set 3 posts per page.
Since we want to display our blog posts in a slider/carousel format, I’ll choose the “Carousel” option as a layout.
Let the column numbers be 3 only and enable the “Equal Height” option for a clean design.
Define Custom Queries for your Posts
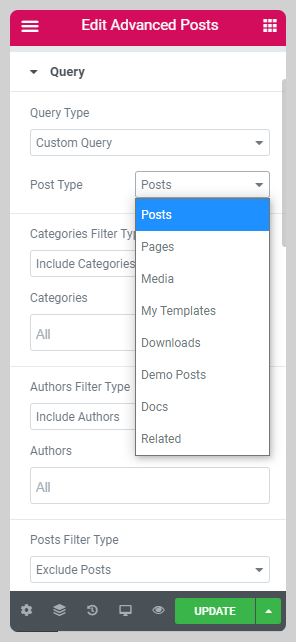
With the PowerPack Posts Widget, you get the power to define custom queries for your blog display. You can set the queries and choose a post type, i.e., Posts, Pages, Media, Templates, etc., that you want to display on your page.
Also, you can exclude/include posts based on Categories, Authors, Posts, and Dates.
Learn Here: How to Customize Query in Post Widget?
Advanced Carousel Options
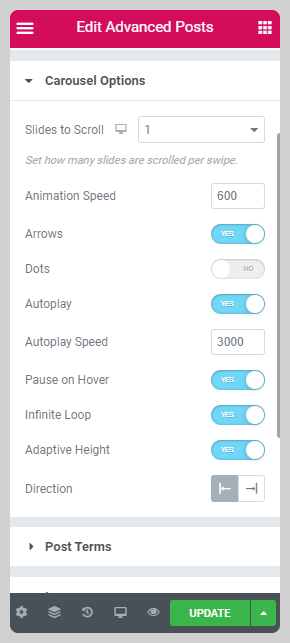
From here, you can define advanced options for your blog posts carousel.
You can set how many slides are scrolled per swipe, set the animation speed, enable/disable dots and arrow navigation as per your preference.
If you don’t want to auto-play the carousel, you can disable the auto-play option.
Apart from all these options, you can also enable/disable pause on hover, infinite loop, and adaptive height option.
Lastly, you can set the moving direction (Left or Right) of your posts carousel.
More Advanced Options
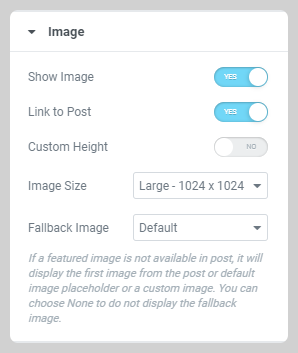
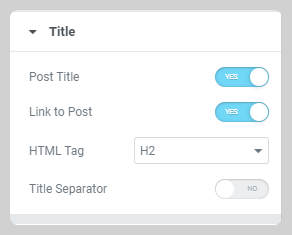
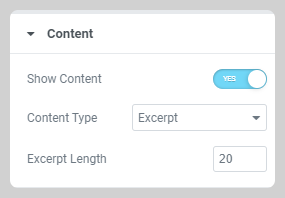
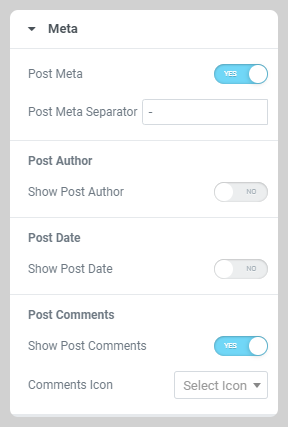
Image: Enable/disable image display, and also you can link images to the respective post.
Title: Enable/disable title display, link title to the post, and a title separator option for a good looking design.
Content: Display excerpt, limited or full post content as per your preference.
Enable/Disable Post Author, Date, and Comments display.
Show Read More button.
Set order of content display inside the carousel box.
Style Tab
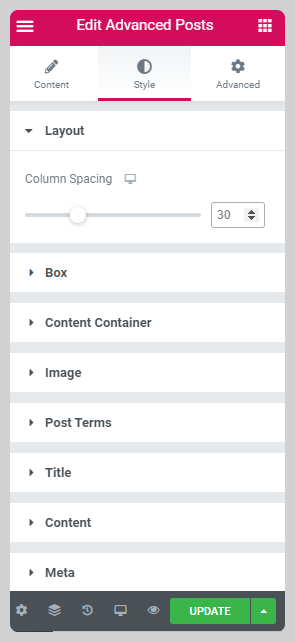
From the Style Options you can style every single aspect of your carousel.
Layout
Here, you can adjust the spacing between columns.
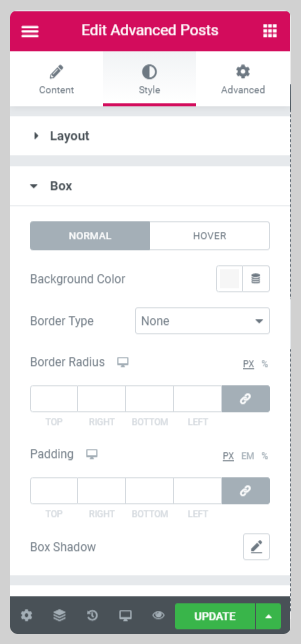
Box
In this section, you can customize your carousel box. You can add background color and set border type for your box.
Also, if you want to add a radius and padding to the box, you can easily do that too. Lastly, you can also add shadow to your box.
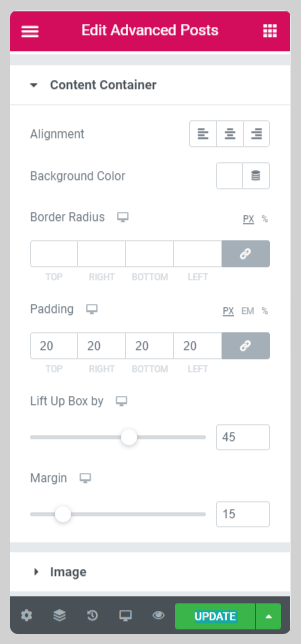
Content Container
From here, you can customize the content present inside the container. You can align your content left, center, and right. You can also add your choice’s background color, select the border type, and adjust the border-radius.
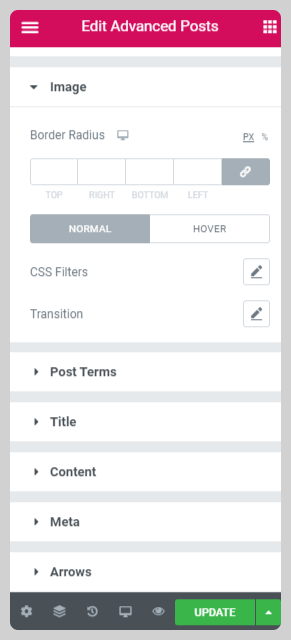
Image
This option allows you to add a border-radius and CSS filters to blog posts featured images.
More Styling Options
Apart from all these styling options, you can also style the complete content of carousels. You can alter typography, change text colors, and add background colors to the text.
Moreover, if you want to customize the Read More Button and Navigation arrow, you can easily do that.
After making all styling changes, this is how the final Elementor Post Slider looks like:
Get Advanced Posts Widget for Elementor!
I hope you find this post helpful. Using the PowerPack Advanced Posts Widget, you can create amazing blog post sliders/carousels on your Elementor websites.
Click here to get the Posts Widget for Elementor with PowerPack, one of the best and creative Elementor addons. PowerPack offers more than 60 creatively designed widgets and powerful extensions that you can use to create beautiful websites.
If you liked this article, then share your thoughts in the comments section below. For more PowerPack tutorials, please subscribe to our YouTube Channel.
